1. Accessing the Translation Platform
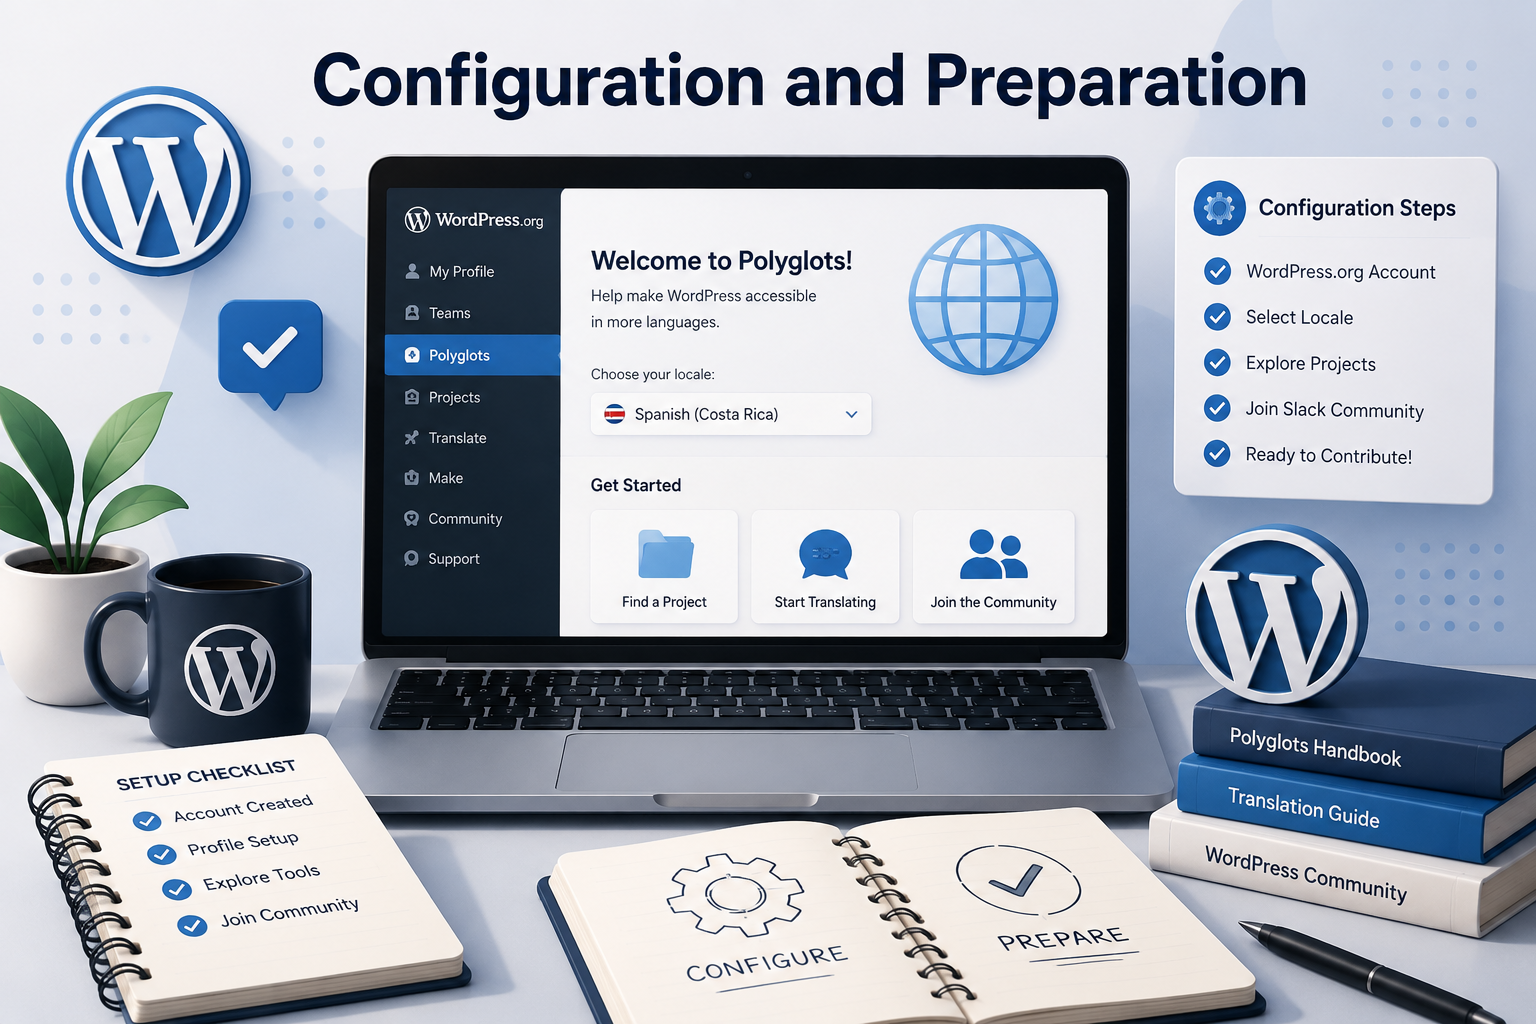
To begin my contribution, I visited translate.wordpress.org, the official WordPress translation platform. I spent some time exploring the website to become familiar with its interface and navigation. After that, I selected my locale, Spanish (Costa Rica), which is the language I would be contributing to throughout this project.

2. Exploring Available Projects
Once my locale was selected, I explored the different translation categories available on the platform, including WordPress Core, Themes, and Plugins. I browsed through several projects until I found a theme that interested me. I chose Sydney, a business-focused WordPress theme that matched the contribution I wanted to make.

3. Reviewing the Sydney Project
After opening the Sydney theme, I explored the project’s information page. There I was able to see the list of contributors, the available subprojects, and other project details. Since the theme had only one subproject, I selected it to continue with the translation process.

4. Accessing the Translation Strings
Finally, I reached the translation interface, where I could view all the available translation strings. The platform also showed the status of each string, including those that had already been translated, those waiting for approval, and those still needing translation. After reaching this section, I was ready to begin contributing my own translations to the project.

Leave a Reply